Contribution
Project History and Vision
The journey of this project began in 2016 at a local hackathon event. The initial goal was to create a user-friendly interface for GeoDjango PointField inputs. Since then, the project has undergone numerous changes, with new widgets added for various providers and it has become a dependency for many global projects.
The current vision of the project is to develop user-friendly and developer-friendly interfaces for all GeoDjango field types using major JavaScript-based map services. If your projects require a widget that is not yet supported by django-map-widgets, you can follow this guide to contribute new widgets to the project.
Map Widget Development Overview
Before beginning development, familiarize yourself with the current widget implementation approach. A typical widget consists of five main elements:
Django widget class implementation
Settings namespace Key
jQuery class and CSS implementation (preferably minified)
Widget HTML template
Usage documentation
As a bonus, implementing tests for your widget is highly encouraged. For optimal performance, consider using uglifycss and uglifyjs Node.js packages to generate minified versions of your static files. See scripts.py file to how you can automate static files minification.
if you need hand with your contribution, feel free to open a thread on GitHub Discussions.
Setting Up the Development Environment
The project uses a pyproject.toml file for configuration. Follow these steps to set up your development environment:
Install development dependencies and pre-commit hooks:
poetry install
pre-commit install
Setup the demo project.
Demo Project
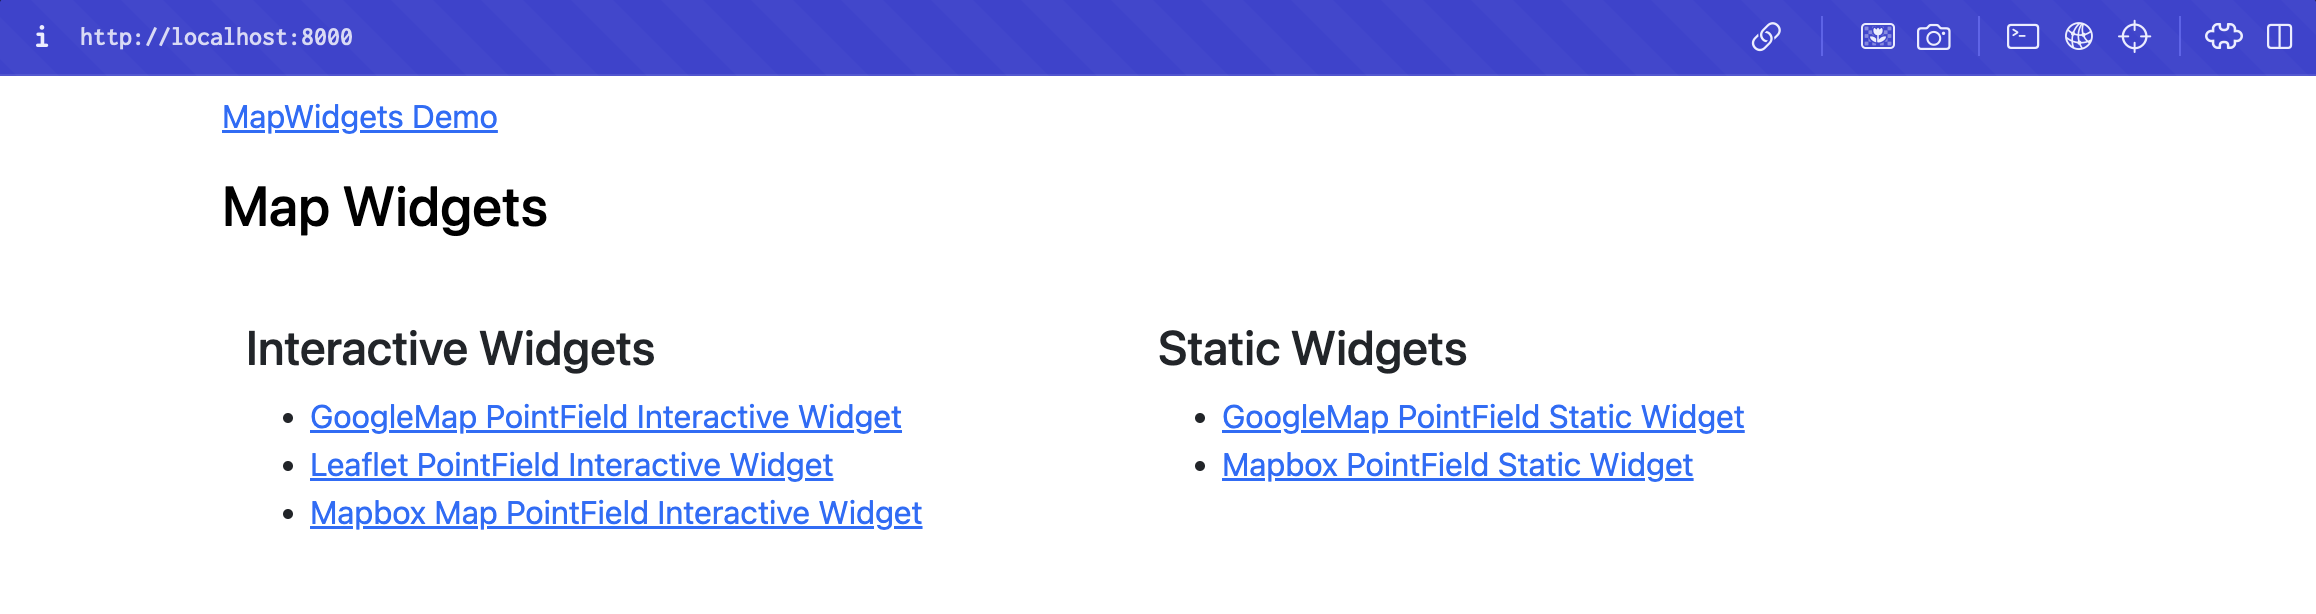
The demo project can serve as a development environment for creating and testing new widget types. It showcases existing widgets in both the admin interface and views.
Setting up the Database
To run the project, a PostgreSQL database with the PostGIS plugin is required. Follow the instructions in the Django Installing PostGIS Documentation to create a database with PostGIS. Update the project’s DATABASES configuration in demo/settings.py if necessary.
Create a PostgreSQL database with PostGIS:
createdb djmap_demo
psql djmap_demo
CREATE EXTENSION postgis;
Update the
DATABASESconfiguration indemo/settings.py:DATABASES = { "default": { "ENGINE": "django.contrib.gis.db.backends.postgis", "NAME": "djmap_demo", "USER": "", "PASSWORD": "", "HOST": "localhost", } }
Apply database migrations:
python manage.py migrate
Environment Variables
Set the following environment variables:
Name |
Description |
|---|---|
GOOGLE_MAP_API_KEY |
Required for GoogleMap interactive widgets |
GOOGLE_MAP_API_SECRET |
Required for GoogleMap static widgets |
MAPBOX_ACCESS_TOKEN |
Required for Mapbox interactive widgets |
MAPBOX_ACCESS_USERNAME |
Set if using a custom Mapbox user map style for static images |
Running the Demo
Start the development server:
python manage.py runserver 0:8000
Access the demo project at http://localhost:8000/.
Thanks for your contribution!